


When I was younger, my sister and I loved to play dress up.
We had found these fabulous homemade crowns at the Oregon Country Fair, and they were a favorite part of our dress up collection. When I had girls of my own, I couldn't wait to make them for my girls.
So this is my best attempt at it yet...

Supplies Needed:
- Crown Fabric, about 10" x 20" (I used a satin with little sparkle stones)
- Lining Fabric, about 10" x 20" (I used a white cotton)
- Sheer Fabric, about 20" x 20" (I used a sheer with blue glitter swirls)
- Ultra Firm Stabilizer, about 10" x 20"
- 1/4" Elastic, about 12"
- Thread
- Trim, about 14"
- Hot Glue Gun & Glue
- Ribbon (optional)
- Spray Adhesive (optional)
Ignore the fact that the photo above does not have all of the supplies shown in it. That's what happens when I try to take the photo too soon! I'm bound to forget something!
Directions:
Step 1
Make your template! I did so using a large piece of paper. You will need one about 10" by 20" long. I wrapped the paper into a cone shape on my daughter's head until I got a shape that I wanted, and taped it into place.
Make sure that you don't get too crazy on the height, or it will be hard for your little one to keep it on.


Once I had marked the size, I trimmed up the bottom edge by drawing a slight arc and cutting.

I then folded it in the opposite direction (see the fold in the middle in the image below? I made that when cutting the image above), and trimmed up the bottom edge again. See how the edges don't match below?

Then I cut straight up from the bottom to the top point, and opened it up. I now have my template.


Step 2
Cut your Ultra Firm Stabilizer to the size of the template.

Cut your crown fabric so that it extends at least 1/2" around the stabilizer you cut in Step 2.

Remember me mentioning that I didn't show everything in the supply photo? Well, here is one thing that I forgot...

I sprayed my stabilizer with the Craft Bond Spray Adhesive, and smoothed my crown fabric over top of it.

Step 4
Using your template, cut your lining fabric, adding a 1/2" seam allowance on the two sides.

Matching right-sides together, sew the crown lining from the top point down to the bottom edge, using a 1/2" seam.


Step 5
Take your sheer fabric and roll the edges under twice, sewing along the fold to secure the raw edges. I folded them in about 1/4", then once again.
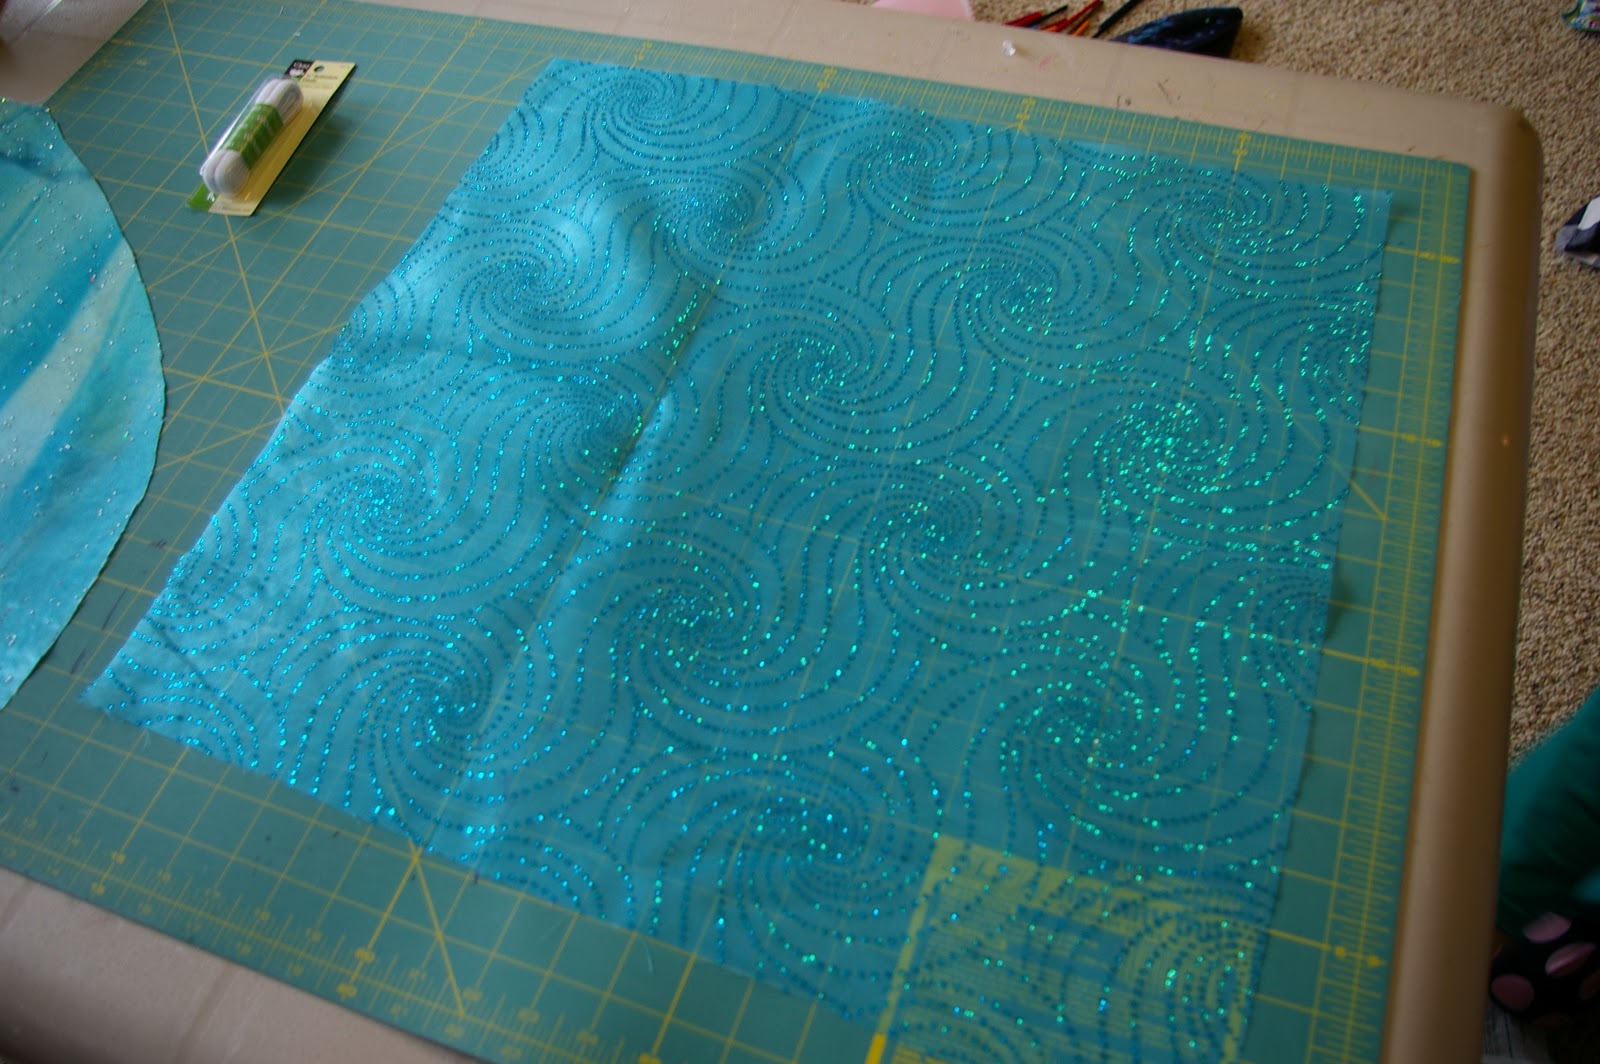

Here is the completed hem.

Step 6
Select the ribbons you would like to include, if any, and cut them to length. I cut 5 ribbon lengths for my crown, measuring from corner to corner of the sheer fabric.

Gather the ends of your ribbons together, and fold one corner of your sheer fabric, holding them all together.


Stitch them all together to hold them in place.

Step 7
Take your crown from Step 3 fabric facing you. Place your ribbon and sheer fabric bundle at the top point of the stabilizer on the opposite side. Hold in place, while you fold the crown in half, right sides together.

Match the stabilizer front and back down the length of the crown.

Stitch from the crown point closely along the edge of the stabilizer.

It may be trick to catch the stabilizer on the back side, but you can always flip it over and sew a second stitch down the opposite side if you need to.

Trim off the excess fabric, leaving no less than 1/2"


Turn your crown right-side out.

Viola!

Trim the bottom to about 1/2" as well.

Step 8
Fold the excess fabric from the bottom of the crown inside, and sew around the bottom edge to secure it in place.

This is what it will look like when you are finished.

Step 9
Mark each side point of the crown, and determine what length of elastic you will need for it to fit securely (and not too tight) to your child's head.

Sew it into place, on the inside of the crown.

Step 10
With your hand inside the lining, and matching the seam of the lining to the seam of the crown, fit the lining inside the crown.

Once in place, you will notice some excess fabric at the bottom edge. Turn under the excess fabric, lining it up with the bottom edge of the crown, and stitch along the edge.

It will look like this when finished.

Oh yeah... don't worry about those ugly stitches you see there...

With some sparkely trim and a little hot glue, they will be gone in no time!

Your crown is complete!
And THIS little girl couldn't be happier!


No comments:
Post a Comment